
Oven deep cleaning is the process of thoroughly removing grease, grime, and carbonised residue through careful preparation, the right cleaning agents, and methodical scrubbing. A dirty oven is not just unpleasant. Burnt grease produces smoke, affects food flavour, and creates a genuine fire risk. Industry guidance recommends a full oven deep clean step by step every 3–6 months, with quick wipe-downs monthly to stay on top of build-up. The baking soda paste method is the chemical-free gold standard for breaking down grease without harsh fumes, though heavily soiled ovens sometimes need a commercial product or professional help. This guide covers every phase, from gathering supplies to the final dry-out.
What tools and products do you need for a deep oven clean?
Gathering everything before you start saves time and keeps the process safe. The right tools make scrubbing easier and protect both you and your oven's interior surfaces.
Essential tools
- Rubber gloves (thick, chemical-resistant)
- Microfibre cloths and old rags
- Plastic or silicone scraper for lifting carbonised residue
- Non-scratch scrubbing pads (avoid steel wool on enamel)
- Spray bottle for vinegar solution
- Large plastic bag or bin liner for soaking racks
- Bucket or sink for rack washing
Cleaning agents
Natural options work well for light to moderate grime:
- Baking soda (bicarbonate of soda): the primary scrubbing agent
- White vinegar: reacts with baking soda to lift residue and neutralise odours
- Lemon juice: cuts grease and leaves a fresh scent
Commercial oven cleaners are suited to heavy carbonised grease that natural methods cannot shift. Always check the product label for compatibility with your oven's interior material. Baking soda paste can damage aluminium interiors, so check your oven manual before applying it.
Pro Tip: Open a window and turn on the rangehood before applying any cleaner, natural or commercial. Good ventilation protects your lungs and speeds up drying.
How to deep clean your oven manually: step by step
The manual method using baking soda and vinegar is the most widely endorsed approach for domestic ovens. A typical clean involves 15–30 minutes of preparation, a 12–24 hour wait, and 1–2 hours of scrubbing. Patience is the key ingredient.
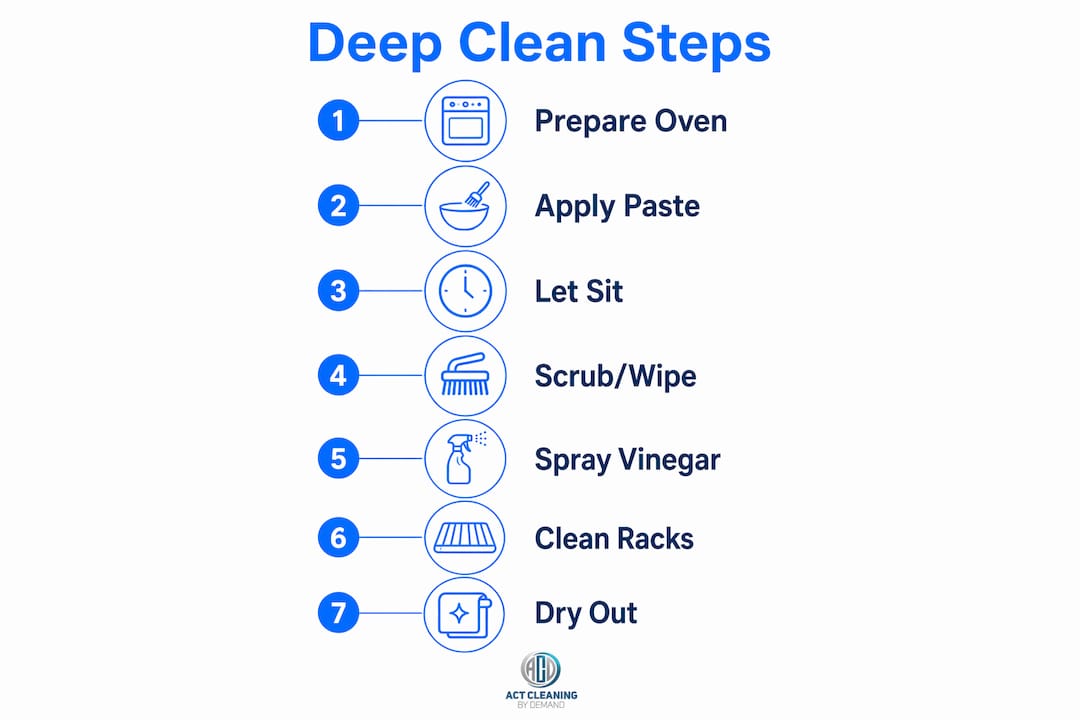
Step 1: Prepare the oven
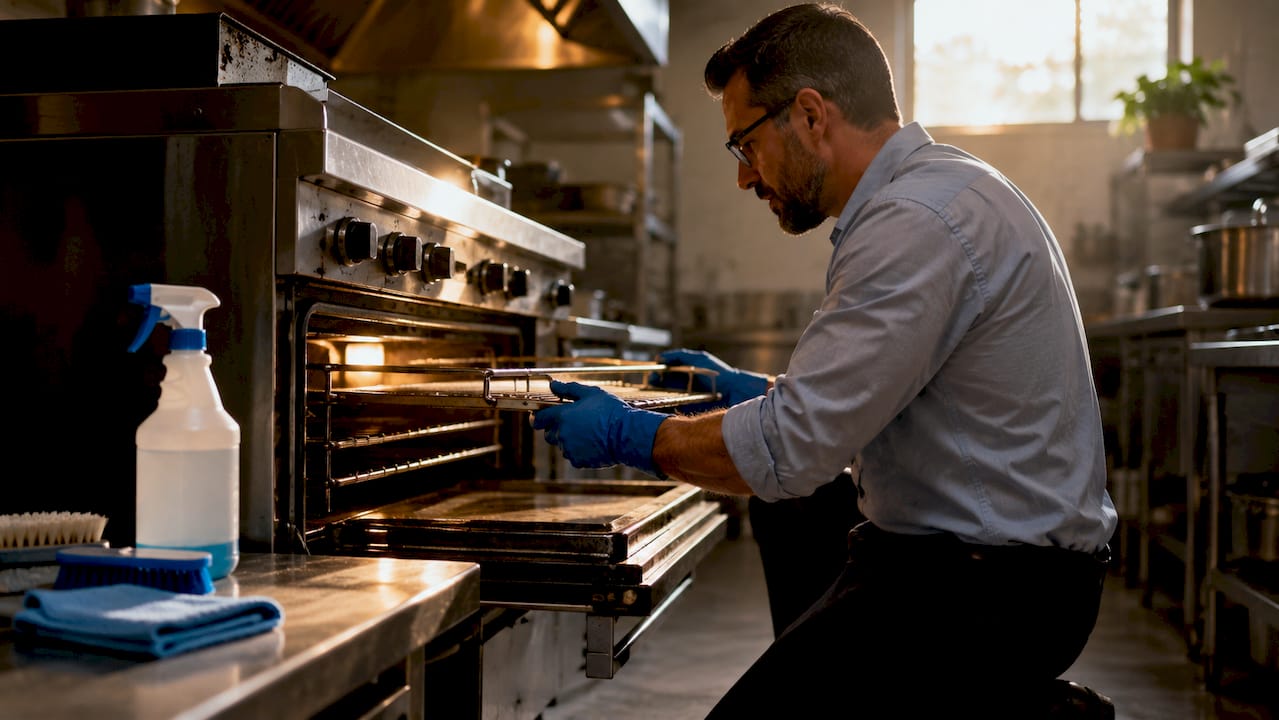
Switch the oven off and allow it to cool completely. Remove all racks, trays, and any foil lining. Wipe out loose crumbs with a dry cloth or soft brush. Place the racks in a large bin liner or the laundry tub for soaking later.
Step 2: Make and apply the baking soda paste
Mix half a cup of baking soda with two to three tablespoons of water to form a thick paste. Spread it across every interior surface: the base, sides, back wall, and the inside of the door. Avoid the heating elements. The paste will turn brown as it absorbs grease. That is normal and means it is working.
Step 3: Let it sit overnight
Leave the paste on for at least 12 hours. Overnight is ideal. The longer it sits, the more grease it breaks down. This waiting period is where most of the actual cleaning happens, so do not rush it.
Step 4: Scrub and wipe
Use a damp microfibre cloth to wipe away the dried paste. A plastic scraper lifts stubborn patches without scratching the enamel. Work from the top down so loosened residue falls to the base, where you can scoop it up last.
Step 5: Spray with vinegar
Fill a spray bottle with undiluted white vinegar and mist the interior. The vinegar reacts with any remaining baking soda, creating a light fizz that lifts the last traces of residue. Wipe clean with a fresh cloth.
Pro Tip: For the oven door glass, apply the baking soda paste in a thin layer and let it sit for 30 minutes before wiping. Never disassemble the door to reach between the glass panels. That task requires an authorised technician and attempting it yourself can void your warranty.
Step 6: Clean the racks separately
Submerge the racks in hot water with a generous squirt of dish soap. Let them soak for at least two hours, or overnight for heavy build-up. Scrub with a non-scratch pad, rinse thoroughly, and dry before returning them to the oven.
Step 7: Final dry-out
Run the oven empty at a high temperature for 30 minutes after cleaning. This
and confirms no cleaner residue remains on the heating elements. Leave the door slightly ajar during this process to let steam escape.| Phase | Time required | Key action |
|---|---|---|
| Preparation | 15–30 minutes | Remove racks, wipe crumbs, mix paste |
| Soaking | 12–24 hours | Apply paste, leave overnight |
| Scrubbing and wiping | 1–2 hours | Scrape, wipe, vinegar spray |
| Rack cleaning | 2+ hours soaking | Soak, scrub, rinse, dry |
| Final dry-out | 30 minutes | Run oven empty at high heat |
How do steam cleaning and self-clean cycles work?
Not every oven clean needs baking soda and elbow grease. Two alternative methods suit different situations: manual steam cleaning and the built-in self-clean cycle found on many modern ovens.
Steam cleaning at home
Steam cleaning uses boiling water or a handheld steamer to loosen light to moderate grime without any chemicals. Place an oven-safe dish filled with water on the bottom rack, heat the oven to around 230°C, and let the steam work for 20–30 minutes. Once cool, wipe the interior with a cloth. This method suits routine maintenance between deeper cleans. It is gentle on enamel and leaves no chemical residue.
Using the self-clean cycle safely
Self-clean cycles heat the oven to temperatures up to 482°C, turning food residue to ash that you wipe away once the oven cools. That extreme heat is effective but comes with real precautions.
- Remove all racks before starting. The high heat damages rack finishes and can warp the metal structure.
- Open windows and run the rangehood throughout the cycle. Fumes from burning residue are strong.
- Keep children and pets out of the kitchen during the cycle.
- Do not leave the house while the self-clean cycle runs.
- Expect the cycle to take 2–4 hours depending on the oven model.
Steam cleaning suits light grime and regular upkeep. The self-clean cycle handles heavy build-up but demands proper ventilation and full rack removal every time.
Cleaning professionals endorse steam as the preferred method for routine maintenance because it minimises harsh chemicals and is safe for most oven interiors. Reserve the self-clean cycle for ovens that have not been cleaned in many months.
What mistakes should you avoid when deep cleaning an oven?
Even a careful clean can go wrong. These are the most common errors homeowners make, and how to avoid them.
- Skipping ventilation. Commercial cleaners and thermal residues both release fumes. Always ventilate the kitchen during and after cleaning by opening windows and running the rangehood.
- Using baking soda on aluminium interiors. Baking soda is alkaline and can pit or discolour aluminium surfaces. Check your oven manual before applying any paste-based method.
- Trying to clean between the door glass panels yourself. Disassembling the oven door risks cracking the glass and voiding your warranty. Leave this to a qualified technician.
- Using steel wool or abrasive pads on enamel. These scratch the surface and create rough patches where grease accumulates faster in future.
- Rushing the soaking time. The baking soda and vinegar method demands time. Cutting the soak short means the paste has not broken down the grease, and scrubbing becomes far harder.
Pro Tip: For stubborn burnt-on grease that natural methods cannot shift, apply a commercial oven cleaner to that specific area only rather than the whole interior. Spot treatment reduces chemical exposure and protects surfaces that do not need it.
Proper technique also extends the time between deep cleans. Wiping spills immediately after each use, placing a baking tray under dishes that might bubble over, and doing a quick wipe-down monthly all reduce the workload when a full clean is due. For a broader look at keeping your kitchen in top shape, the kitchen cleaning guide from Com covers surfaces, appliances, and habits that make a real difference.
Key takeaways
A thorough oven deep clean using baking soda paste, vinegar, and proper soaking time is the most effective and safest method for most domestic ovens.
| Point | Details |
|---|---|
| Clean every 3–6 months | Industry guidance recommends deep cleaning ovens every 3–6 months with monthly wipe-downs. |
| Baking soda paste is the gold standard | Apply paste, wait 12–24 hours, then scrub and follow with a vinegar spray for best results. |
| Remove racks before self-clean cycles | High heat up to 482°C warps rack finishes; always remove racks before running a self-clean cycle. |
| Ventilate throughout | Open windows and run the rangehood during and after any cleaning method to manage fumes safely. |
| Know when to call a professional | Heavy carbonised grease and dirty door glass panels are best handled by a qualified cleaning service. |
Why patience is the real secret to a clean oven
I have cleaned a lot of ovens, and the single biggest mistake I see homeowners make is treating the baking soda paste like a spray-and-wipe product. They apply it, wait an hour, and then wonder why the grease is still stuck. The chemistry needs time. Twelve hours is the minimum. Twenty-four hours is better. When you give the paste a full overnight soak, the scrubbing phase takes a fraction of the effort.
The other thing I have noticed is that people reach for commercial cleaners too quickly. Commercial products have their place, particularly for carbonised build-up that has been baking on for months. But for a regularly maintained oven, baking soda and vinegar do the job without the fumes, without the cost, and without the risk of damaging interior surfaces. The residential cleaning standards that professional services follow actually prioritise natural methods wherever possible for exactly this reason.
My honest advice: set a reminder every three months, do a proper overnight soak, and you will never face a truly daunting clean again. The ovens that end up needing professional intervention are almost always the ones that have been neglected for a year or more. Consistent, patient maintenance is what keeps the job manageable.
— Deng
When professional oven cleaning makes sense
Some ovens need more than a DIY clean can deliver. Heavily carbonised interiors, years of neglected grease, or an oven that needs to pass an end-of-lease inspection are situations where professional help pays for itself.

Com offers professional oven cleaning services tailored to residential clients across Australia, using eco-friendly products and techniques that protect your appliance. For homeowners moving out of a rental, Com's end of lease cleaning covers the oven as part of a full property clean, giving you the best chance of getting your bond back. Booking is straightforward through the Com website, and every job is backed by a commitment to quality and local service.
FAQ
How often should I deep clean my oven?
Deep clean your oven every 3–6 months, depending on how often you cook. Do a quick wipe-down monthly to prevent heavy build-up.
Can I use baking soda on any oven interior?
Baking soda paste is safe for enamel interiors but can damage aluminium surfaces. Check your oven manual before applying it.
How long does the baking soda method take?
Preparation takes 15–30 minutes, the paste needs to sit for 12–24 hours, and scrubbing takes 1–2 hours. Plan for an overnight soak for best results.
Is the self-clean cycle safe to use regularly?
The self-clean cycle is effective but reaches up to 482°C, which can stress oven components over time. Use it for heavy build-up rather than as a routine cleaning method.
What do I do about dirty glass between the oven door panels?
Never disassemble the oven door yourself. This risks cracking the glass and voiding your warranty. Contact an authorised technician or a professional cleaning service to handle it safely.